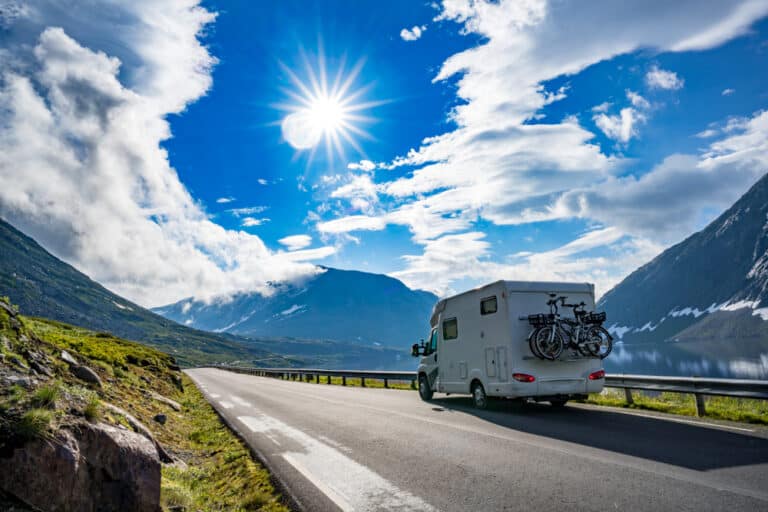
A Comprehensive Guide on RV Washing in 2023
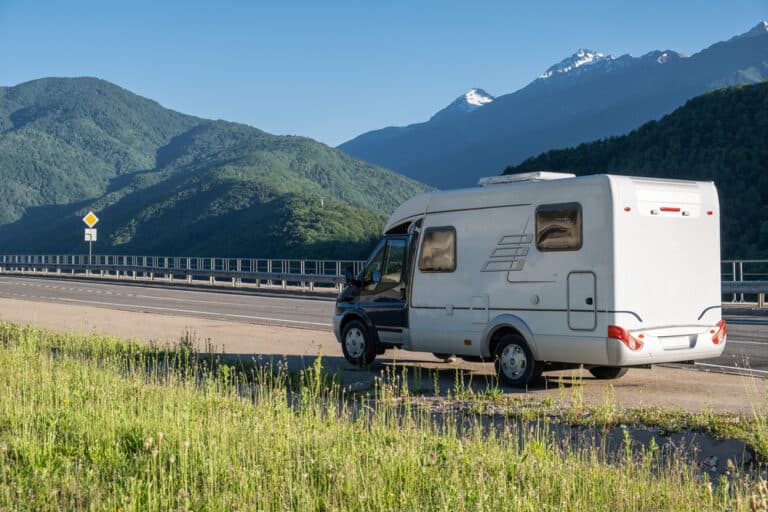
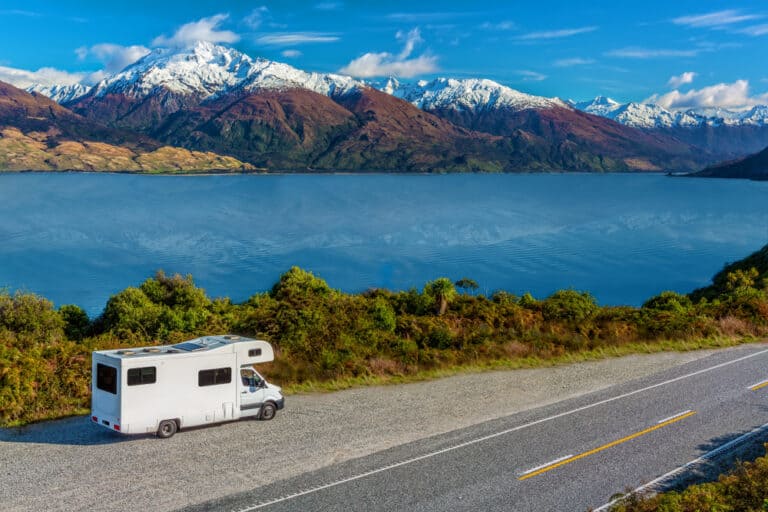
In the world of adventurous travel and outdoor exploration, few things provide the freedom and excitement that comes with owning a RV! As you journey through picturesque landscapes and create unforgettable memories on the open road, ensuring the well-being of your cherished home on wheels becomes paramount. I will delve into the essential techniques, tips, and considerations that will help you maintain the pristine appearance and structural integrity of your RV. From tackling the challenges of road grime to preserving the longevity of your vehicle’s exterior, this guide equips you with the knowledge to uphold the beauty and functionality of your RV, ensuring that every adventure begins with a gleaming and well-cared-for rig.
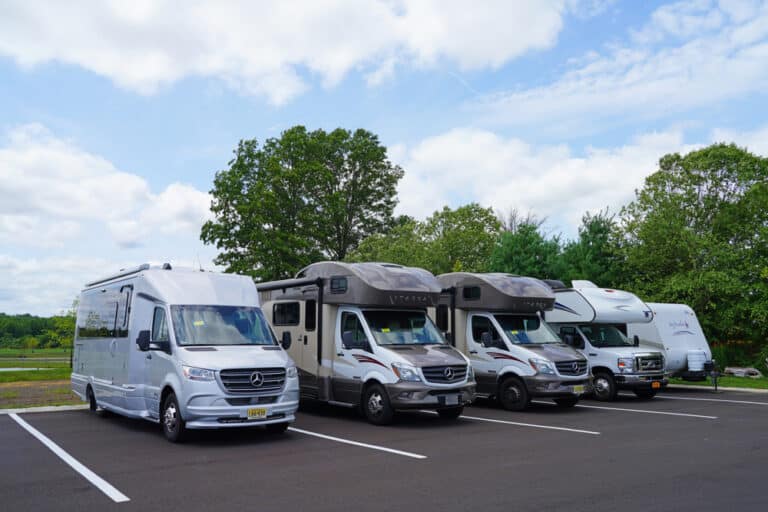
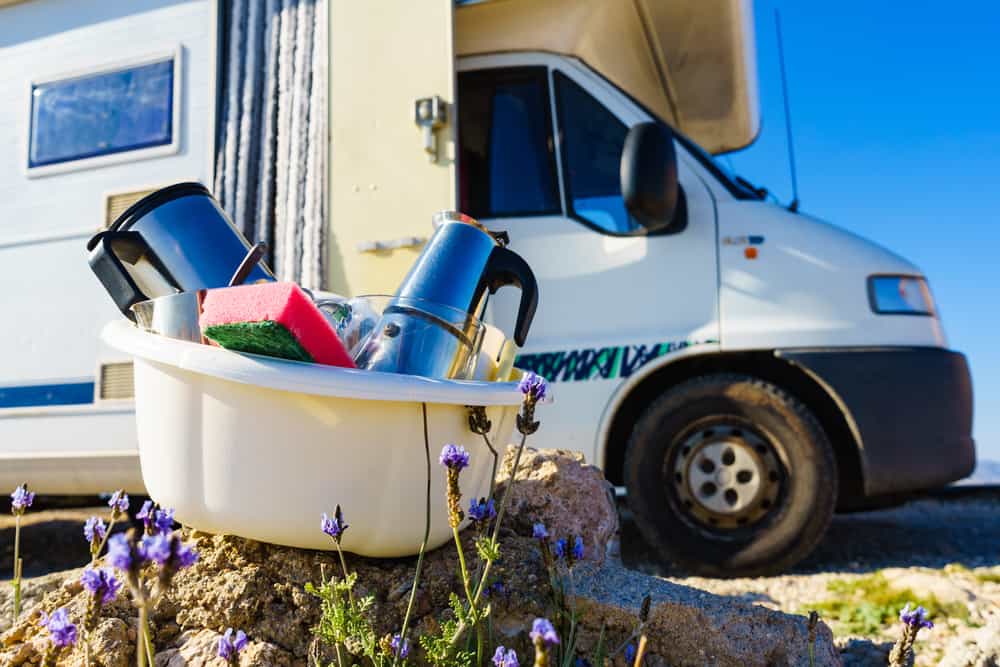
Essential Items for an RV Wash
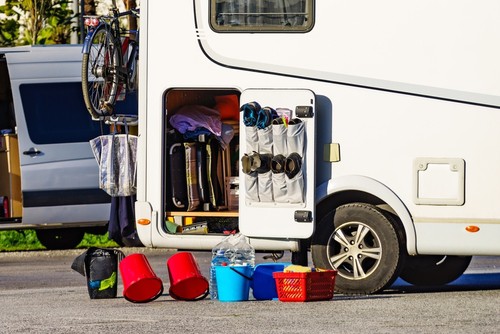
Before we begin the washing process, let’s discuss the crucial tools you’ll need. These typically include:
- A Good Quality RV Soap: Avoid home detergents as they can damage your RV’s exterior. Instead, opt for specialized RV soap, which is designed to be gentle on your vehicle’s finish while effectively removing dirt and grime. Star Brite RV Wash is a great option for the best kind of car wash soap.
- A Long-Handled Wash Brush: This tool helps you reach the top of your RV without needing a ladder. Ensure the bristles are soft to avoid scratching the surface.
- A Ladder: For those hard-to-reach spots, a sturdy ladder is a must. Ensure it’s safe and reliable.
- Microfiber Towels: These towels are great for drying your RV as they are super absorbent and gentle on the surface.
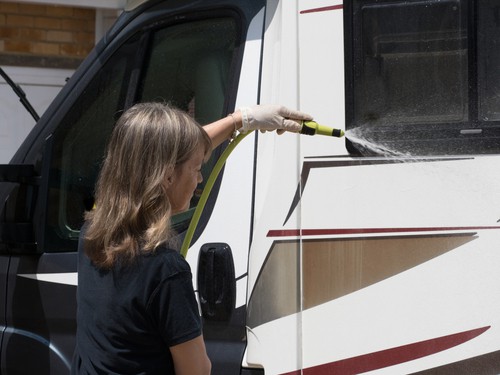
- A Hose with a Spray Nozzle: An adjustable spray nozzle will allow you to control water flow, making the rinsing process easier.
- Bucket: A large bucket will help mix your soap and water. Ideally, it should be sturdy and easy to carry.
- RV Wax: After washing, applying a coat of RV-specific wax can help protect the surface from further dirt and damage. Carnauba Wax is a great option.
- Rubber Gloves: To protect your hands from the cleaning chemicals.
- Sponges: They come in handy for cleaning stubborn dirt and stains on the RV’s surface.
Now that you’ve gathered your washing gear, it’s time for action! In the next section, we’ll walk you step-by-step through the RV washing process. So, get ready to roll up your sleeves and let’s make your RV shine!
Washing Your RV: A Step-by-Step Guide
Roll up your sleeves, put on your favorite upbeat music, and get ready for some hands-on care for your beautiful RV. There’s something undoubtedly fulfilling about washing your RV. It’s an opportunity to inspect the rig closely, understand its wear and tear, and take pride in the hard work that results in a sparkling clean mobile home.
Step 1: Set Up Your Cleaning Station
First things first, make sure your RV is parked in a suitable area for washing – preferably a flat surface, out of direct sunlight. Gather all your cleaning supplies listed in the essentials, ensuring that they are within arm’s reach. This will make your cleaning process smooth and efficient.
Step 2: Pre-Rinse Your RV
Start by rinsing your RV with clean water and a garden hose to remove loose dirt and dust. Start from the top and work your way down. This process will make the washing process easier and prevent scratching from harsh particles.
Step 3: Prepare Your RV Soap Solution
Following the instructions on the RV soap packaging, create your soap solution. Always adhere to the manufacturer’s recommended ratio to ensure optimal cleaning while protecting your RV’s finish.
Step 4: Washing RV
Begin washing your RV from the top, working your way down in sections. This method ensures that the soap doesn’t dry on your RV, which can cause streaking. Using your long-handled wash brush, scrub in a circular motion to effectively remove stubborn dirt and grime.
Step 5: Rinse Thoroughly
After washing each section, rinse thoroughly, making sure all soap is removed. Leaving soap on the surface can cause residue build-up and potential damage to your RV’s exterior like the rv roof. Don’t forget to rinse your scrub brush frequently to avoid reapplying dirt.
Step 6: Dry Your RV
Once the entire RV has been washed and rinsed, it’s time to dry it. Using your microfiber towels, dry the RV to prevent water spots from forming. Like washing, start from the top and work your way down.
Step 7: Check Your Work
After drying, take a moment to walk around your RV to check your work. Look for any missed spots or areas where dirt may still be present. If needed, repeat the washing, rinsing, and drying process for these areas.
Step 8: Regular Maintenance
Maintaining an RV’s gleaming appearance doesn’t stop here. Consistent washing after trips, especially those involving rough terrains, will keep your RV in top shape. Consider this activity as not merely a cleaning chore, but a routine check-up where you can spot any potential issues such as cracks, leaks, or rust. By catching these early, you can avoid more significant problems down the line.
Remember, an RV is not just a vehicle; it’s an investment into incredible life experiences. By taking the time to get your RV washed, you’re ensuring it stays with you, looking its best for many adventures to come.
Professional RV Wash Tips
A premium RV wash can be a game-changer when it comes to maintaining the cleanliness and longevity of your RV. Here are some tips and insights that will help you make the most of these services:
What to Know About Professional RV Washing
- Expertise and Training: Professionals who specialize in RV washing have the training and expertise to use the correct techniques and products that will protect your RV’s exterior. They are well-versed in handling the unique materials and designs of different RV types.
- Time-Efficient: Professional RV washes can save you a considerable amount of time. They have the equipment and manpower to clean your RV thoroughly in a fraction of the time it would take you to do it yourself.
- Detailed Cleaning: Professionals pay close attention to detail, ensuring every nook and cranny of your RV is cleaned from rv roofs to rv exterior, they’ll put in the elbow grease necessary. This includes things you might overlook, such as awnings, slide-outs, and roofs.
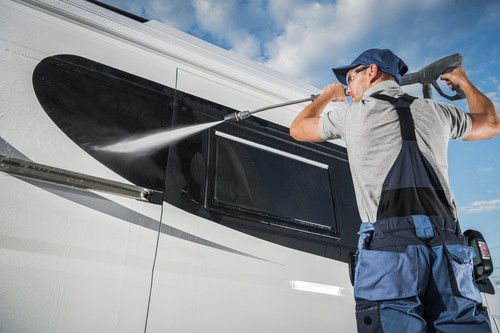
- Specialized Equipment and Products: Professional RV cleaners use specialized tools and products that you may not have at your disposal. These can include pressure washers, telescoping brushes, and commercial-grade cleaning and waxing products.
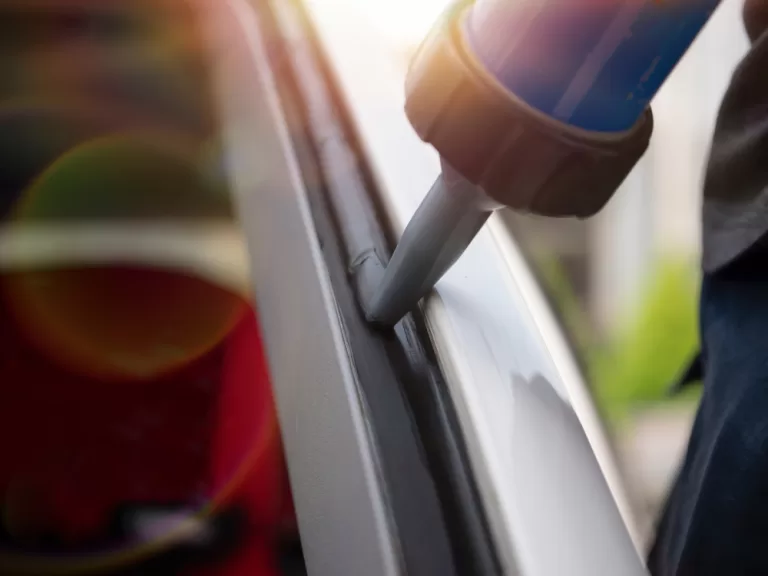
- Damage Prevention: Professionals are skilled in avoiding damage that can occur during washing, such as scratching or denting. They know how to clean without causing damage to the exterior surface, decals, seals, or other sensitive parts of the RV.
- Weather Considerations: Professional RV washes can be particularly helpful in winter months when it’s too cold outside for you to do the job yourself. They often have indoor facilities that allow them to work in all weather conditions.
- Additional Services: Many professional RV washes also offer additional services such as waxing, polishing, and interior cleaning. They use a great pressure washer to cut down on how long it takes. Some even offer repair services, which can be a great convenience.
- Cost-Effective in the Long Run: While professional RV washes might seem costly upfront, they can be cost-effective in the long run. Regular professional cleaning can help maintain the RV’s resale value, prevent future repair costs, and prolong the lifespan of your vehicle.
Before you opt for a professional RV wash and wax, don’t forget to check reviews and recommendations. It’s essential to choose a service that is reputable and trusted in the RV community. Remember, a clean and well-maintained RV isn’t just about looking good – it’s about preserving your home on the road for many adventures to come.
What about Normal Car Washes?
While it might seem like a convenient solution, running your RV through a regular car or truck wash is generally not advisable. Standard car wash facilities are designed to accommodate vehicles of smaller sizes and may not have the right equipment to effectively or safely clean an RV. The brushes, pressure of the water jets, and even the cleaning solutions used may not be suitable for the materials used in RV construction. Besides, RVs have unique elements such as awnings, slide-outs, and intricate corners that regular car washes are not equipped to handle.
There’s also a risk of causing damage to the RV’s exterior, including the paintwork and decals. For these reasons, it’s best to opt for a professional RV wash service or wash your RV by hand using the appropriate cleaning tools and solutions. Don’t risk your home on wheels with a regular car wash, treat it with the care it deserves.
Conclusion
In conclusion, taking care of your RV’s exterior is not just about maintaining its aesthetic appeal, but it’s a crucial element of ensuring its longevity and performance. Whether you choose to wash your RV manually or opt for professional services, remember that it’s an investment worth protecting. Regular cleaning and maintenance will not only make your journeys more enjoyable but will also contribute to preserving the value of your RV. So, roll up your sleeves or book that professional wash, and get ready for many more miles of adventures!
PLEASE NOTE: I participate in the Amazon affiliate program, which provides a means for me to earn a small commission by linking to products there. My opinions are my own and I only link to products I can recommend to friends and family with total confidence. Using these links won’t cost you an extra dime!
Looking for some more RV advice and guides? Check out my other blog posts.