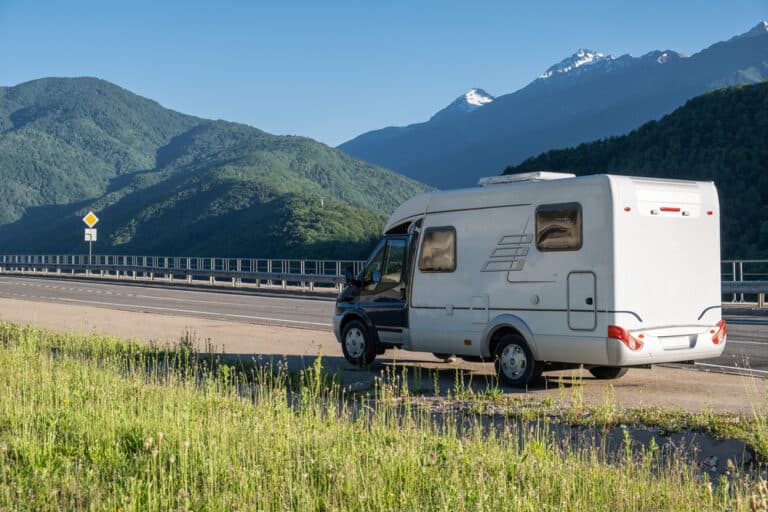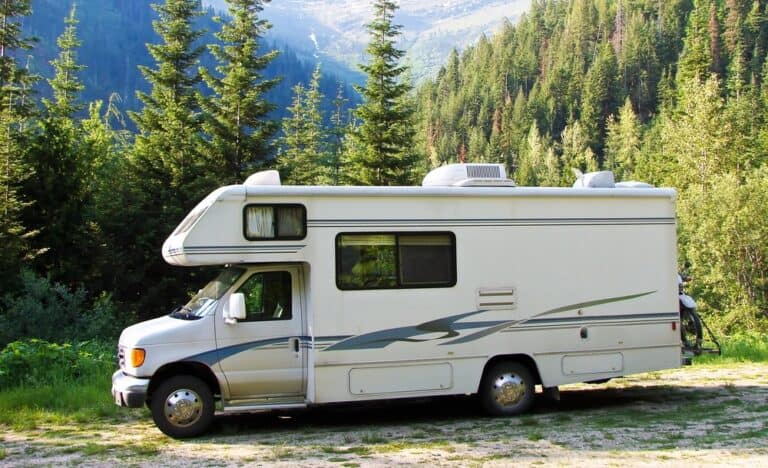
RV Paint guide: Painting Your RV Exterior in 2023
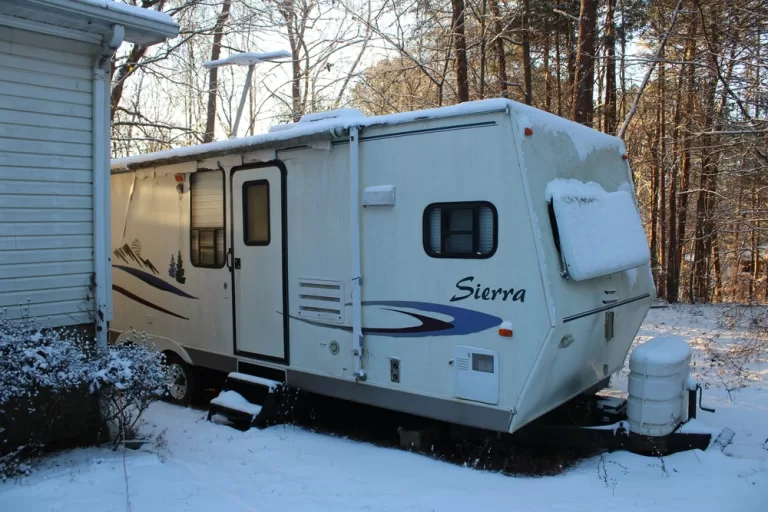
Are you considering embarking on a DIY RV paint project? If so, I have all the information you need to know. This do-it-yourself endeavor requires ample preparation work, including time for painting and drying, but the results can be truly transformative for all RV owners. By applying a fresh coat of paint, you can completely revamp the appearance of your RV, breathing new life into even the oldest rigs. A well-executed RV exterior paint job might even help you gain access to RV parks with strict 10-year rules.
In this comprehensive article, we will delve into various aspects of the process. We will explore the cost comparison between a professional RV exterior paint job and a DIY approach. Additionally, we will highlight the numerous benefits of taking on this project yourself, not to mention the step-by-step instructions you need to ensure a successful paint job. So, let’s dive right into the details and get you well-prepared for your RV transformation journey.
What’s the Process for Painting the Exterior of Your RV?
Painting the exterior of your RV is not an easy or quick task. You can expect to spend a lot of time cleaning, inspecting, fixing cracks and defects, removing decals, priming, painting, and sealing your RV exterior. But if you put in the work, you may enjoy the result and the impact on your wallet.
Choosing Between a Professional RV Painter and DIY Painting
Getting a professional RV paint job can make a world of difference, especially if it’s your first time. However, it’s worth noting that professional paint jobs can be quite expensive, ranging from a few thousand dollars or more depending on the size of your RV and the extent of the job.
On the other hand, painting your RV yourself can save you some money, but it’s important to consider the time it will take. While a professional paint shop can complete the job in just a day or two, it might take you a week or even longer when you factor in the preparation, painting, and drying time.
If the cost of a professional paint job exceeds the value of your RV, it might be worth considering rolling up your sleeves and doing it yourself.
What type of paint should be used for the exterior of an RV?
If want your RV to look its best, it’s important to use high-quality exterior paint. The type of paint you choose depends on various factors, but don’t worry, I’ve got you covered!
Many RVers swear by using regular exterior paint on their RV, while others recommend marine epoxy or marine deck paint. The key is to find one that’s rated for the outdoors and will easily grip your RV surface.
For aluminum RV exteriors, acrylic latex paint or oil based paint are great options. Just be aware that oil-based paints take a bit longer to fully cure. Alternatively, you can use automotive paint for aluminum RVs.
When it comes to fiberglass RV exteriors, you have a wide range of choices, from marine coatings to regular exterior house paint.
No matter which type of paint you go with, remember to properly prep the surface and use a primer. This will ensure a long-lasting and beautiful finish for your RV. Happy painting!
What is the price of painting an RV?
Painting your RV on your own is a cost-effective alternative to hiring a professional. The total expense will depend on your RV’s size, the amount of primer and paint required, and the type of paint you select. For most DIY paint projects, anticipate a budget of approximately $200 to $400.
On the flip side, engaging a professional RV painter can be significantly pricier. It can range from $10,000 to $40,000. That’s like purchasing a brand-new rig!
So, unless you have that kind of money to spare, why not give it a try and repaint it yourself?
How to Guide: Painting
Now let’s dive into the exciting part: giving your RV exterior a fresh coat of paint. The specific steps may differ based on the type and condition of your vehicle, but each one plays a crucial role, regardless of the RV you’re working on.
Prep Your Surface
Before anything else, begin by prepping the exterior surface of your RV. The prep work may range from using a degreasing cleaner for a thorough clean to performing a complete sanding. We recommend starting with a cleaning process to remove all debris, including moss, lichen, tree sap, and chalk from old paint or roof material. Next, use a solvent or degreasing-based cleaner to eliminate any lingering oils.
Once the surface is clean, carefully inspect the seams and areas around windows for any holes or cracks that require repair or resealing.
To ensure a smooth painting process, it’s important to rough up and prime the painting surface of your RV. Lightly sand the area you intend to paint using fine sandpaper and make sure to remove any sanding dust. This step will facilitate proper adhesion of the primer and paint, preventing chipping and peeling in the future. Take caution not to damage the RV exterior while sanding; a light touch is all that’s needed.
The final step in the preparation stage involves taping and masking off areas that you do not wish to paint. If you’re using a roll or brush-on paint, simply mask around windows and doors. However, if you plan to spray the RV, it’s necessary to use plastic to cover all surfaces that should not be painted.
Decals: Should You Remove Them or Leave Them Be?
Decals can pose a challenge for many RV enthusiasts. Painting over them can result in a noticeable line in the shape of the sticker, although some individuals are not bothered by it as it is not visible from a distance.
However, keeping the decals on can have its drawbacks. Over time, they may chip or peel off, potentially causing significant damage to the paint job. On the other hand, leaving them intact can be convenient and time-saving, especially if they are in good condition.
If you choose to remove the decals, be prepared to use a heat gun, a paint scraper, or a razor blade to carefully peel or chip them off. Once removed, make sure to thoroughly clean the area to eliminate any residual adhesive, using a degreaser if necessary.
Prime Your Surface
Once your RV is clean and sanded, it’s time to apply a primer as the initial base coat of paint. Depending on the type of paint you choose, you’ll likely have the option of using a compatible primer. This step is crucial for achieving a professional and long-lasting finish.
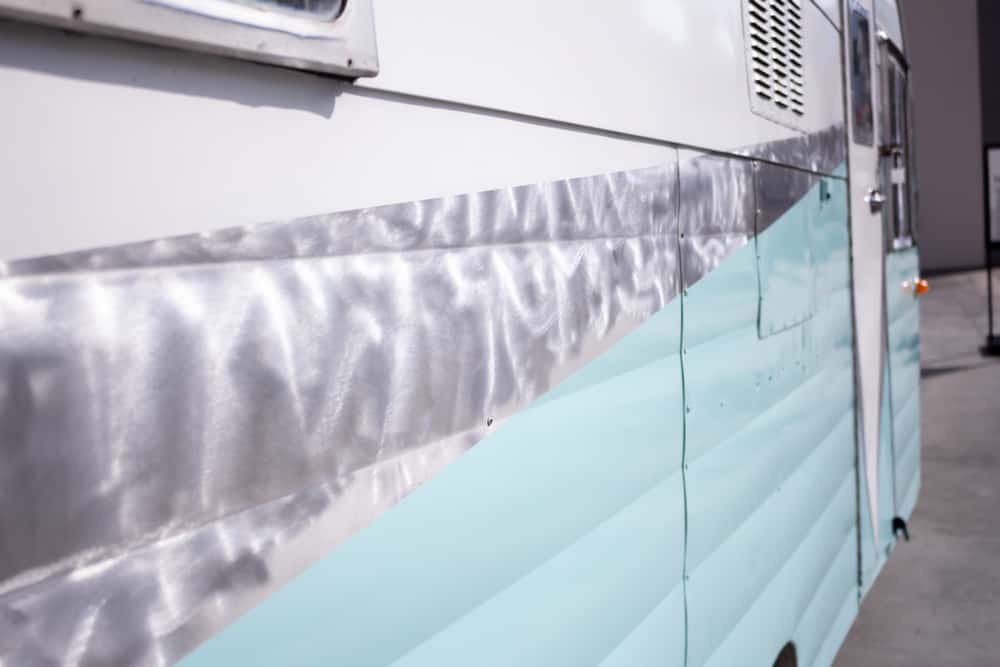
RV Paint
When it’s time to paint your RV, it’s important to choose a location with minimal dust and bugs. We recommend starting in the late morning and avoiding bright lights near the RV at night to prevent attracting bugs. If possible, painting inside is always the best option.
Once you’ve prepped and primed the exterior, it’s time to choose the RV paint. If you’re on a budget, a latex-based exterior paint is a good choice. It can withstand the elements and the constant movement and flexing of an RV. However, keep in mind that latex paints tend to be softer and more prone to scratching.
Alternatively, you can consider using spray-on automotive paint. This option requires more preparation and can be messy, so be prepared for that. Remember to use respirators when spraying automotive paint.
If you’re looking for a durable and solid finish, epoxy paints are a great choice. However, using epoxy paints requires careful planning as they may require mixing and have limited working times. Make sure you thoroughly understand the directions before attempting to use epoxy paints.
Add a Protective Coating
While adding a protective coating is not mandatory, neglecting this step can potentially reduce the longevity of your freshly painted DIY RV paint exterior. Any clear exterior paint sealant should suffice, but ensure that your RV paint has completely dried before proceeding with this task. Taking these precautions will help maintain the quality and durability of your project.
Various Tips to Remember
- Use Quality RV Paint: High-quality paints are designed to withstand extreme conditions and resist paint peeling and cracking. Although they may cost more upfront, they can save you time and money in the long term.
- Apply Multiple Layers: Instead of one thick layer of paint, apply several thin layers. This will improve adhesion and reduce the likelihood of peeling.
- Properly Prepare the Surface: As already mentioned, preparation is key to a successful and durable paint job. Never skimp on this step. Make sure the surface is clean, dry, and well-sanded before applying paint.
- Use the Right Tools: Using the right tools for the painting process can drastically improve the paint adhesion. Rollers and brushes designed for the paint type you are using can ensure the paint is applied evenly, reducing the risk of peeling.
- Protect Your RV: Shield your RV from harsh weather conditions, if possible. Extreme heat, cold, rain, and snow can all contribute to paint peeling. If you can store your RV in a garage or under a cover, it will help protect your paint job.
By following these tips and techniques, you can significantly reduce the risk of paint peeling and ensure a long-lasting, vibrant finish that will have your RV looking its best for years to come.
What Tools Do You Need for an RV Paint Job?
To prepare your surface, it is essential to wash your RV. While a pressure washer can expedite the process, there’s nothing wrong with using a bucket of soapy water, a hose, and a sponge or soft-bristled brush.
After washing your RV, it’s crucial to seal any windows and cracks. Opt for a paintable RV sealant for this task. Should you decide to remove your decals, gather a heat gun, a paint scraper or razor blade, an adhesive remover, a degreaser, and a decal removing wheel.
When it comes to applying paint, you have a few options. You can choose to brush it on, roll it on, or spray it on—it’s entirely up to you. For these methods, ensure you have rollers, brushes, or an automotive paint sprayer at hand. Additionally, having a ladder will prove helpful throughout both the cleaning and painting processes.
Roll or Paint Sprayer: Which Method Reigns Supreme?
When it comes to painting your RV exterior, the choice between rolling, brushing, or spray paint depends on your personal preference. The key to achieving the best results is selecting the method that you feel most comfortable with.
If you find rolling or brushing paint more intuitive, you’ll likely achieve better results compared to using a spray gun for the first time. Spraying paint requires precision to avoid uneven spots or runs. However, if you have experience with a paint gun or spray painting, you may achieve superior results.
Conclusion

In conclusion, painting your RV exterior can be a rewarding and transformative process. It allows you to personalize your travel home, offering both protection and aesthetic appeal. While each step requires meticulous attention from cleaning, sanding, priming, and painting, to applying a protective coating, the result will be worth it. Whether you choose to roll, brush, or spray on the RV paint, the key is to use the method you’re most comfortable with. With patience and attention to detail, you can breathe new life into your RV with a fresh coat of paint. Happy painting!
PLEASE NOTE: I participate in the Amazon affiliate program, which provides a means for me to earn a small commission by linking to products there. My opinions are my own and I only link to products I can recommend to friends and family with total confidence. Using these links won’t cost you an extra dime!
Looking for some more RV advice and guides? Check out my other blog posts.